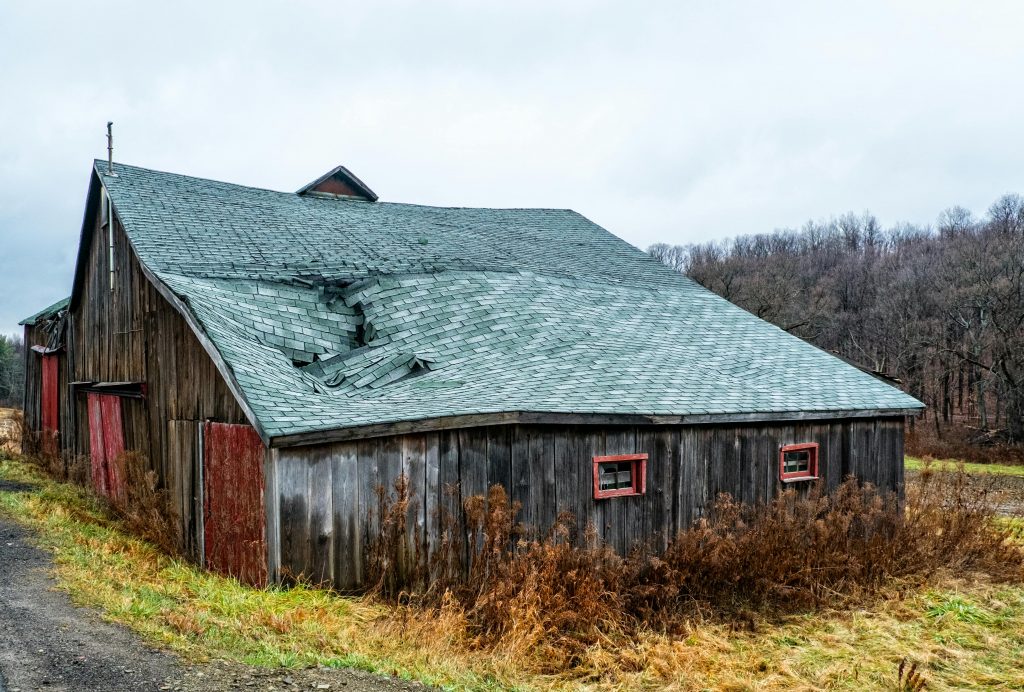
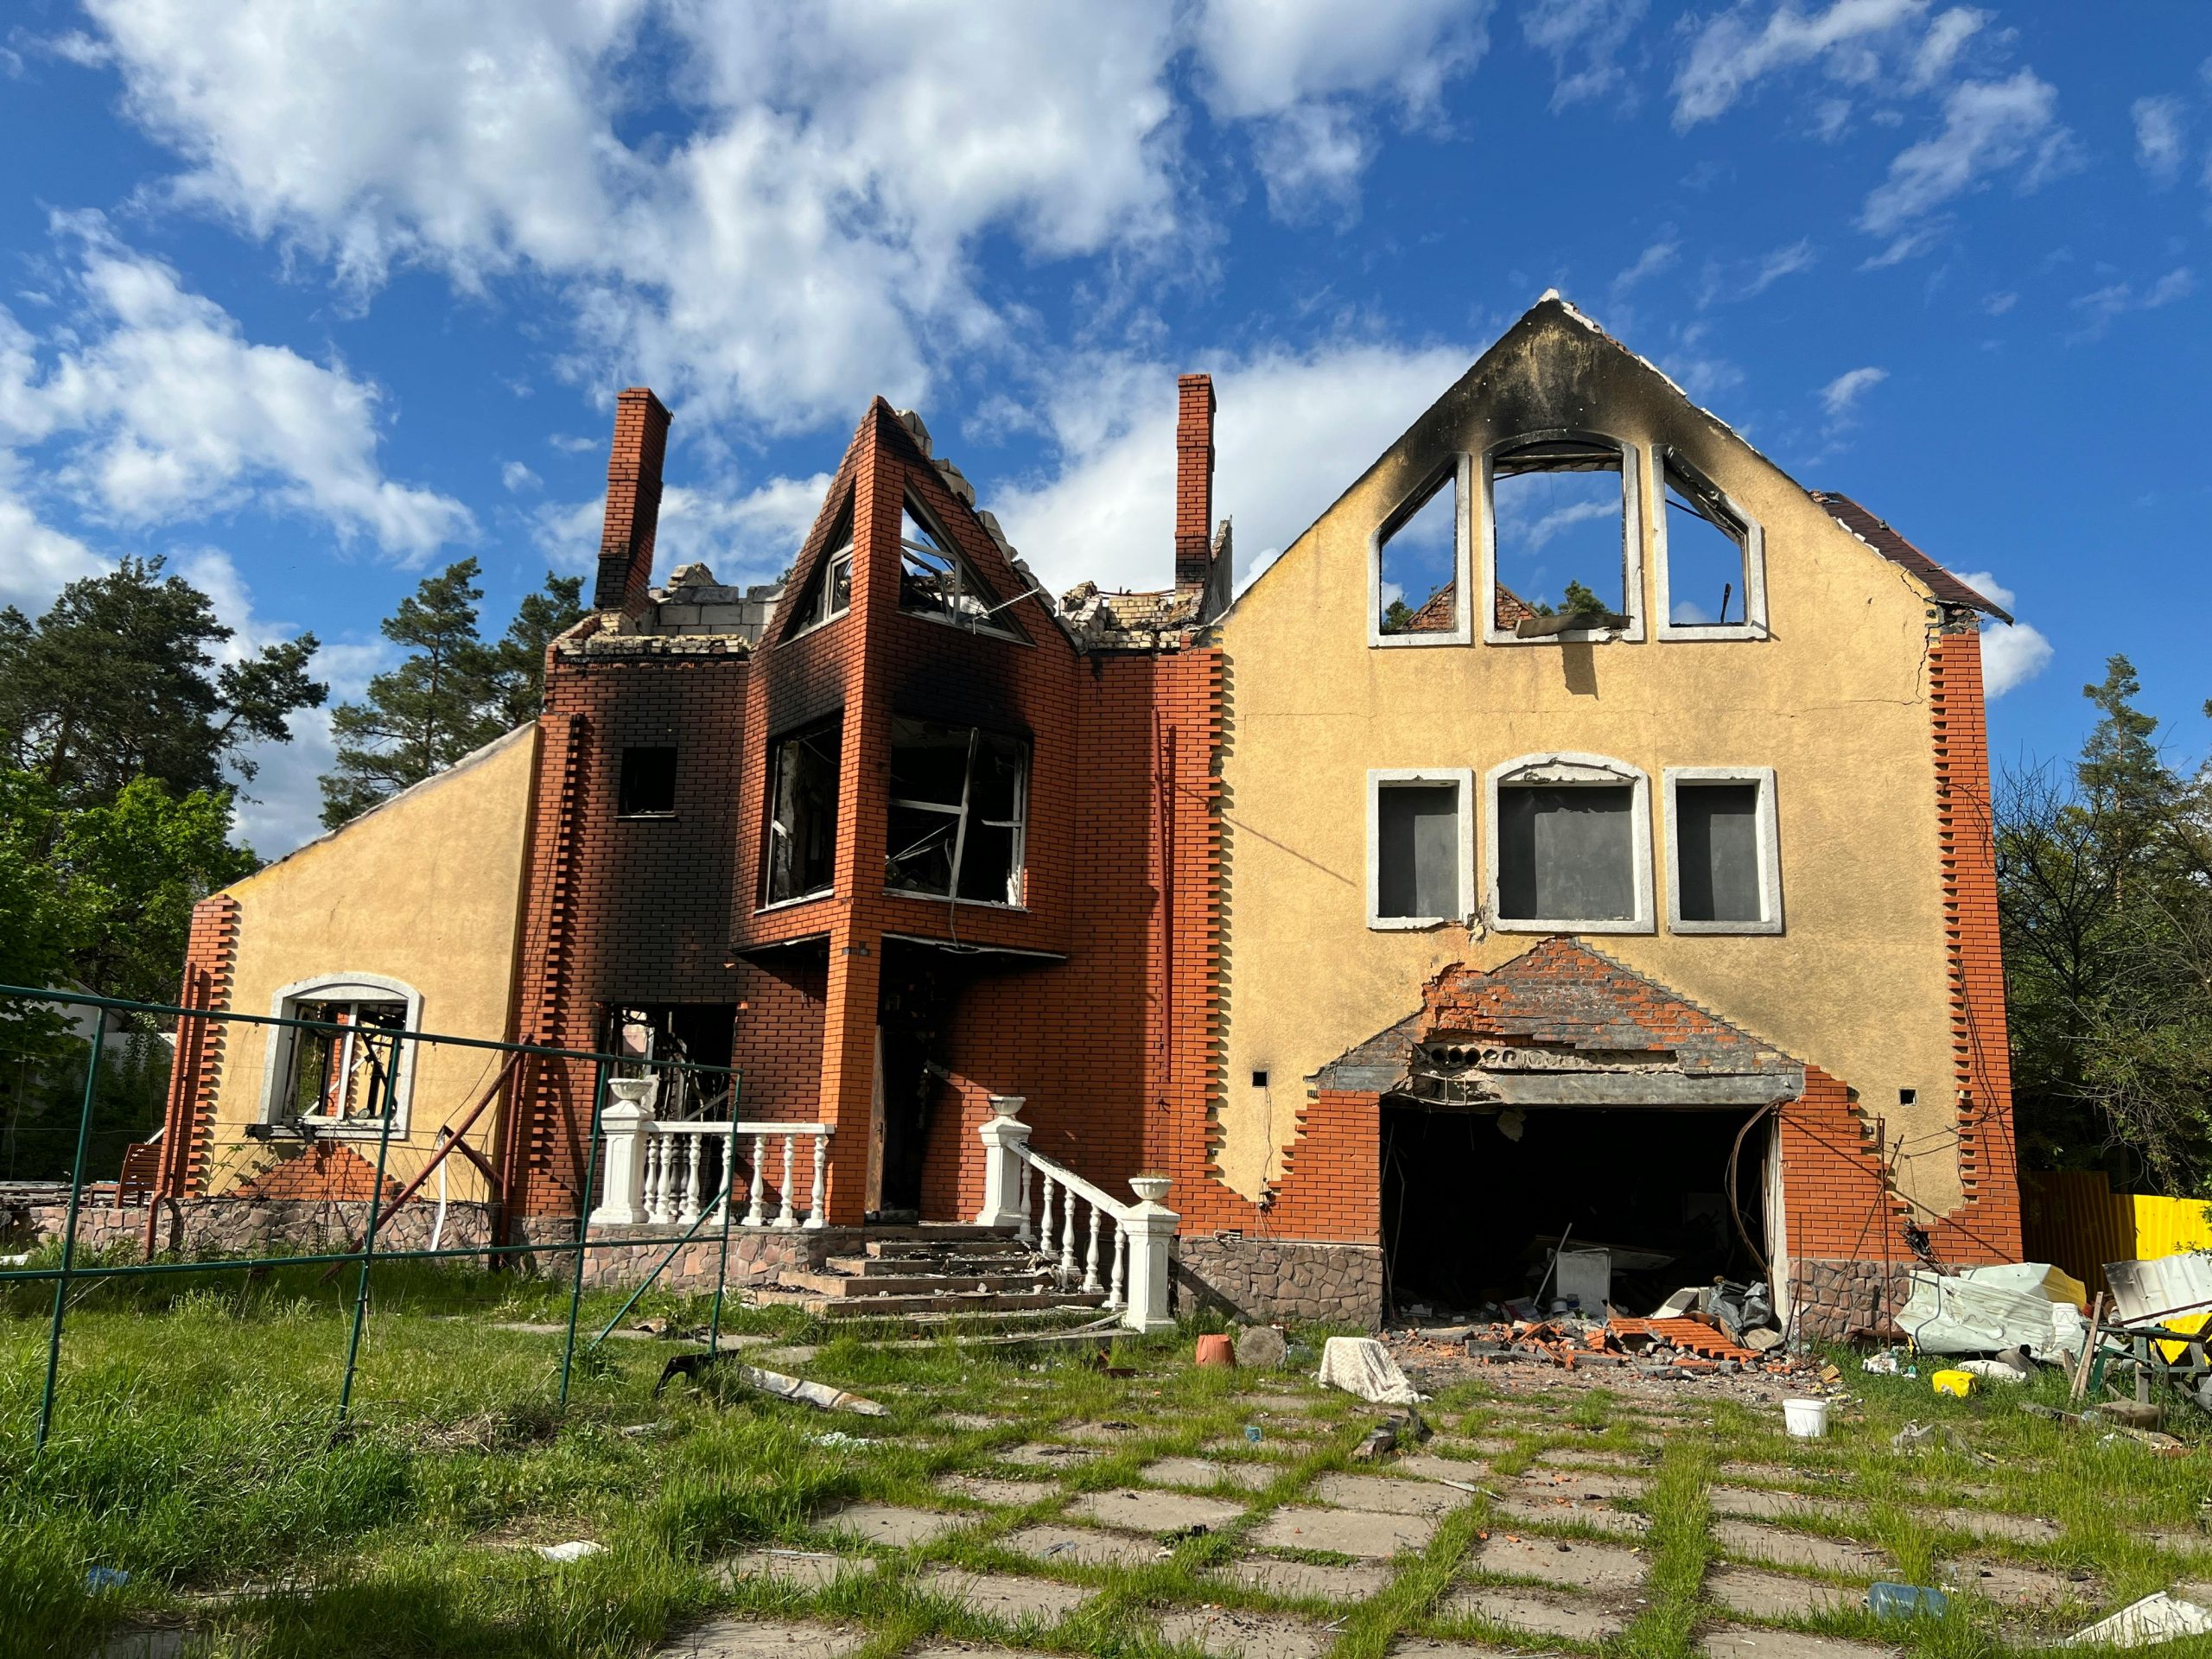
When a powerful storm hits your area, your roof takes the brunt of it. Wind, rain, hail, and falling debris can lead to serious damage—some of which you may not even see right away. Fixing your roof quickly and correctly is key to protecting your home from leaks, mold, and even structural issues.
In this guide, we’ll walk you through everything you need to know about storm damage roof repair—from spotting signs of trouble to understanding your insurance options and choosing the right repair strategy.
Common Types of Storm Damage
Not all storms cause the same kind of damage. Here’s what to look out for:
- Wind Damage
High winds can tear off shingles, loosen flashing, and leave sections of your roof exposed. In extreme cases, entire roof sections may be lifted off.
- Hail Damage
Hailstones, especially those the size of a quarter or larger, can dent shingles, crack tiles, and cause punctures that aren’t always visible but lead to leaks later.
- Rain & Flooding
Heavy rain can reveal pre-existing weaknesses. Leaks may form around chimneys, skylights, or in valleys if flashing has been compromised.
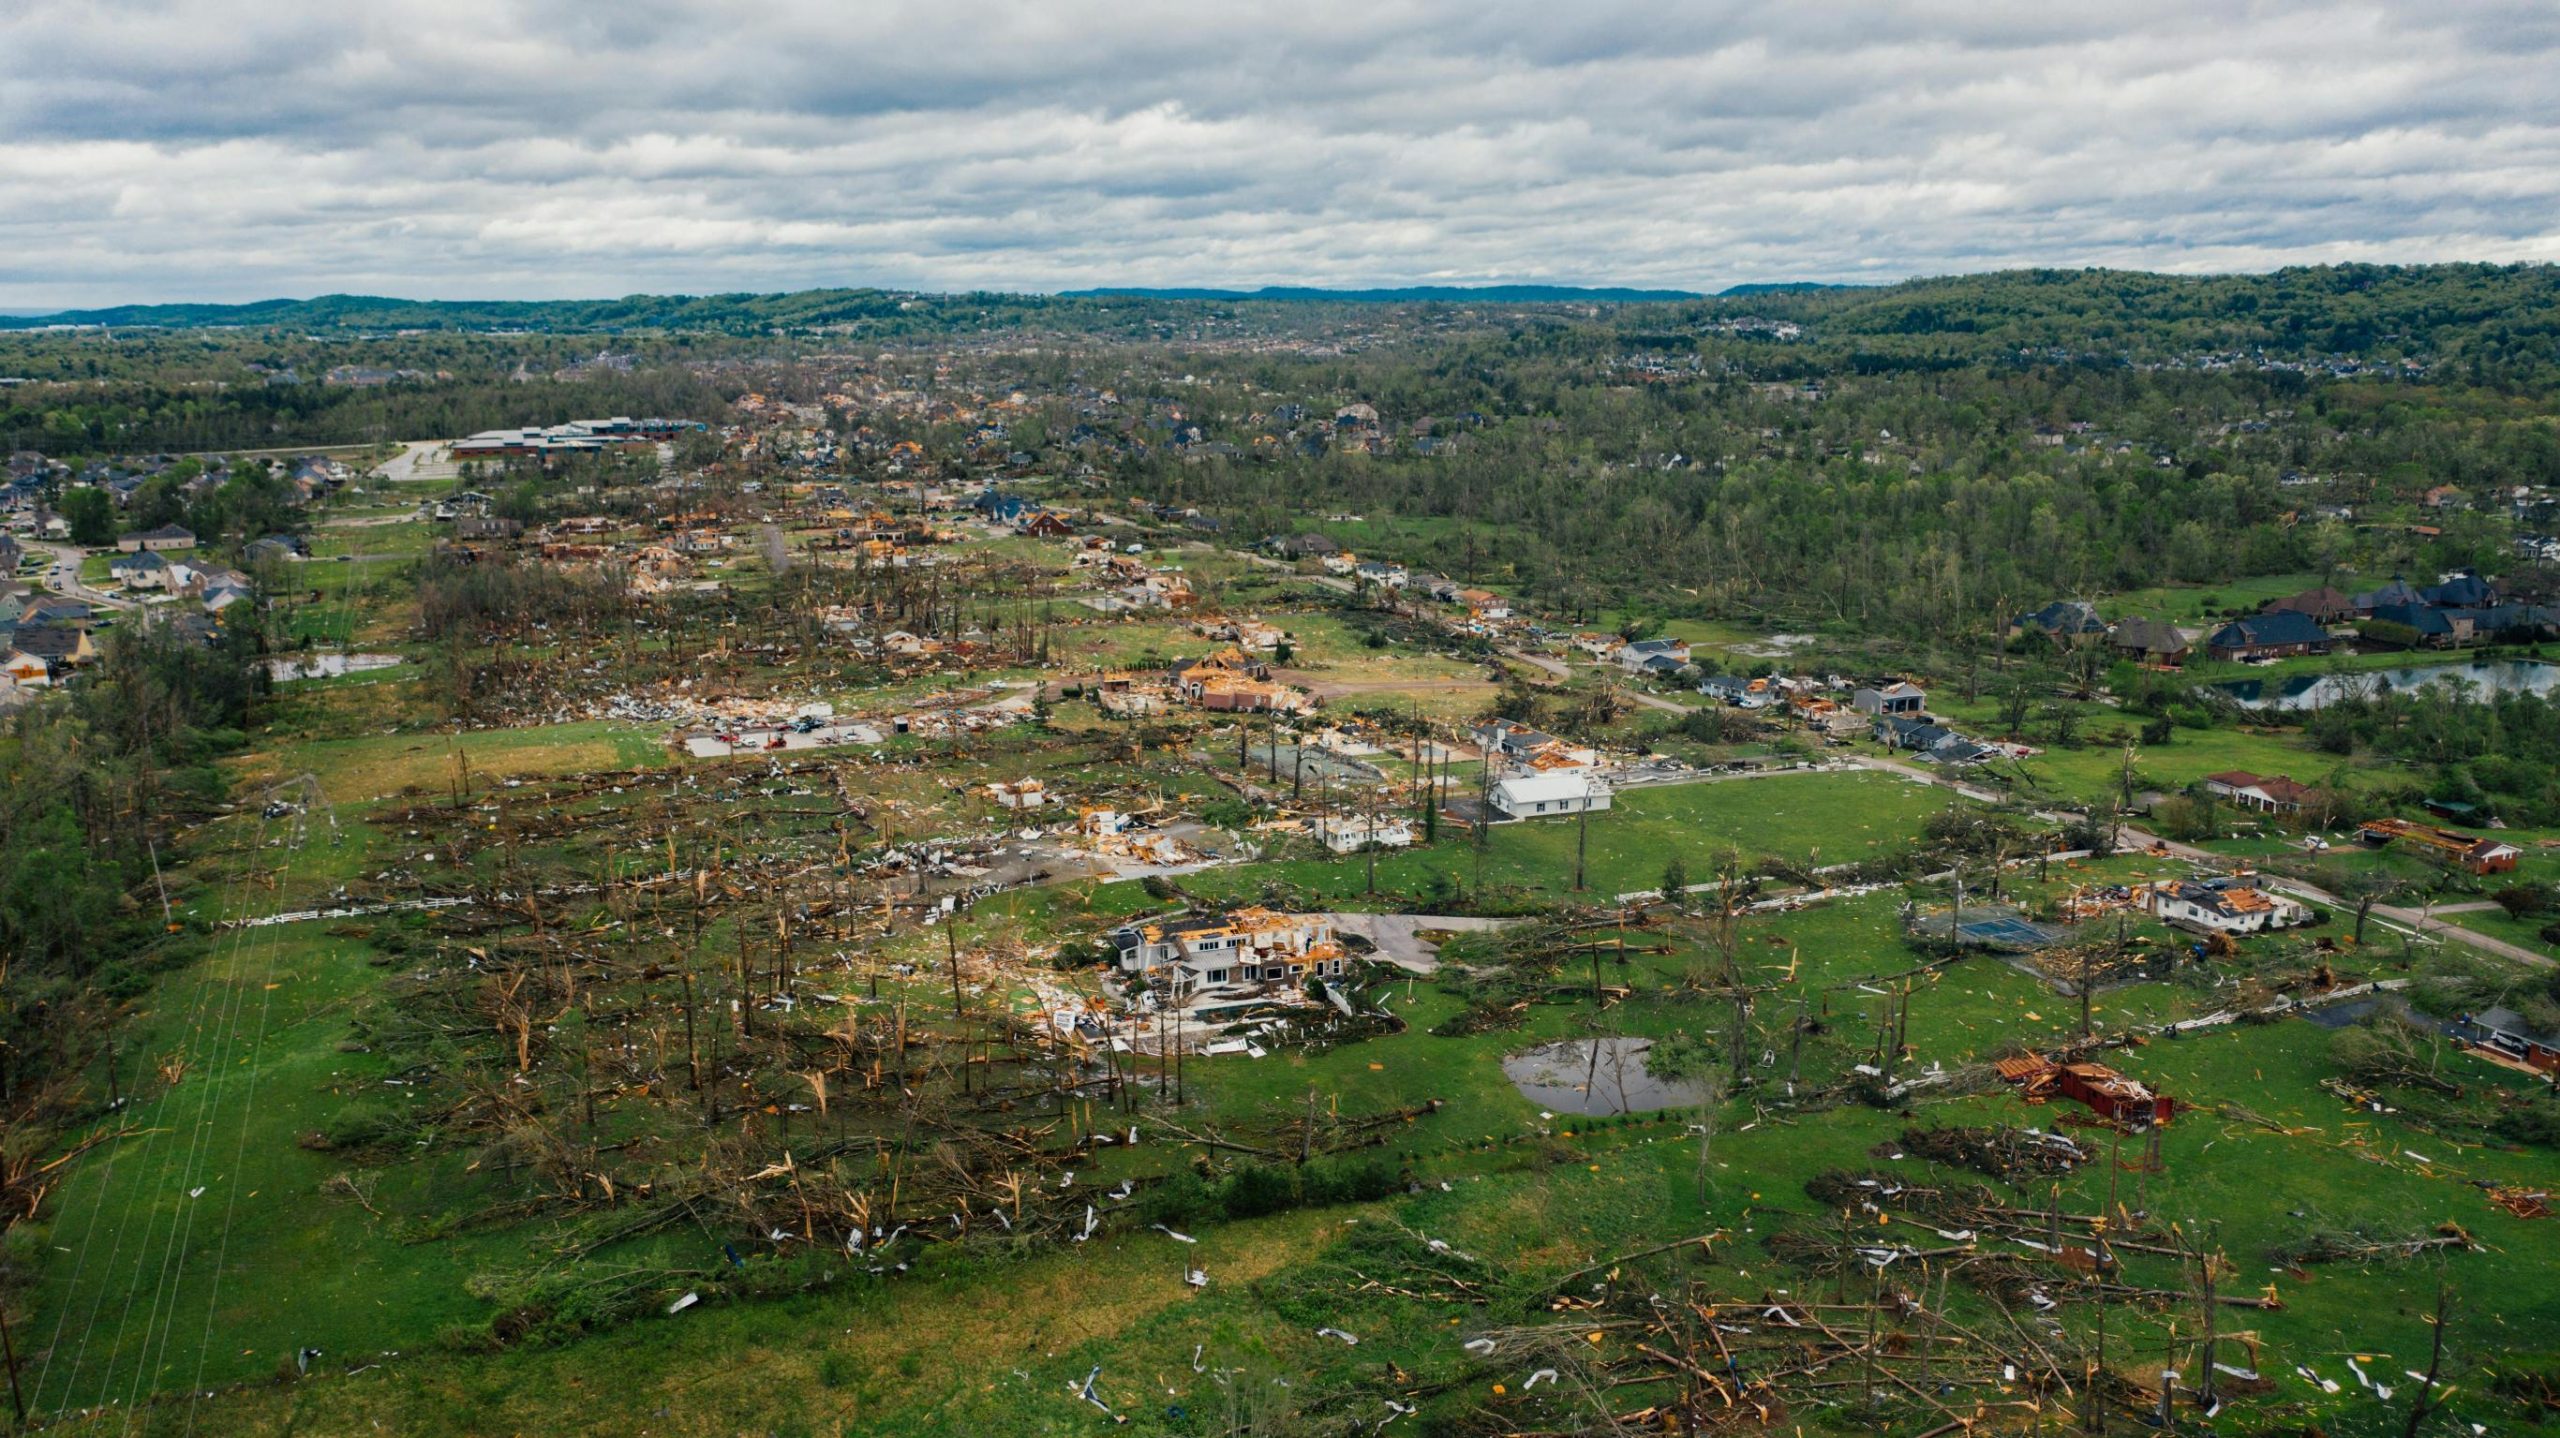
- Falling Debris
Branches or even entire trees may crash onto your roof during a storm, causing serious structural damage. This often requires immediate repair or replacement.
Signs Your Roof Has Storm Damage
Even if everything looks fine from the ground, your roof may be damaged after a storm. Identifying the warning signs early can help you prevent more costly repairs down the line. Here’s what to look for:
Missing, Cracked, or Curled Shingles
Storms with strong winds can easily tear off shingles or lift them, causing cracks or curling. Damaged shingles expose the layers beneath to moisture, which can lead to leaks and rot. Always check for visible gaps or oddly shaped shingles from the ground using binoculars, or hire a professional to inspect safely.
Shingle Granules in Your Gutters or Downspouts
Asphalt shingles shed granules over time, but a heavy storm can accelerate this process. If you find large amounts of granules in your gutters or downspouts, your roof may have taken a hit. Granule loss reduces the shingles’ ability to protect your roof from UV rays and water.
Leaks or Water Stains on Ceilings and Walls
One of the clearest signs of roof damage is water making its way inside. Look for yellow, brown, or dark water stains on your ceiling or walls. Even a small stain could point to a bigger problem in your roof’s underlayment or flashing.
Soft Spots When Walking on the Roof (Only If Safe to Do So)
If it’s safe and you’re experienced with roof access, lightly walk on different sections. A soft or spongy feeling underfoot can indicate water damage or rotting wood beneath the shingles. Always take extreme caution, or better yet, leave roof walking to professionals.
Dents in Vents, Flashing, or Metal Roof Parts
Hail can cause dents in the metal components of your roof, such as flashing, vents, and valleys. These dents might not seem like a big deal, but they can lead to leaks if they disrupt the seal around important roofing features.
Mold or Musty Odors in the Attic
Storm damage often leads to unseen moisture buildup. A musty smell or visible mold in your attic could mean water is getting in through the roof. Mold growth not only damages your home’s structure but can also affect indoor air quality.
If you’re unsure, it’s best to have a professional roofer inspect your roof.
What to Do Right After the Storm
Timing is everything. Follow these steps to protect your home and begin repairs:
- Stay Safe
Your safety comes first. If you suspect your roof has damage, do not climb up immediately after the storm. High winds and heavy rain may have weakened the structure or created slippery surfaces. Also watch out for hazards like:
- Downed power lines near your home
- Broken tree limbs or debris on the roof
- Loose shingles or unstable ladders
Tip: If water is entering your home, shut off electricity to affected areas to avoid shock hazards.
- Inspect from the Ground
You don’t need to climb up to spot storm damage. Use binoculars, a camera with zoom, or a drone to check for visible issues. Document everything:
- Torn or missing shingles
- Bent gutters or detached flashing
- Tree branches resting on the roof
- Debris collecting in valleys or near roof edges
Take photos or videos from different angles, even if the damage seems small. These records help with insurance claims and repair estimates.
- Prevent Further Damage
If it’s safe to do so, take steps to protect your interior while you wait for professional help. Here’s what to do:
- Cover leaking spots with tarps or plastic sheeting
- Place buckets or containers under drips
- Move furniture, electronics, and rugs out of the area
- Use towels or fans to begin drying damp surfaces
Important: Don’t try to do roof patching in wet or windy conditions—wait until it’s dry and stable.
- Contact a Roofing Contractor
Call a licensed and insured roofing contractor as soon as possible. Reputable contractors often offer free storm damage inspections and will give you a detailed estimate for repairs or replacement.
What to look for in a roofer:
- Emergency services or quick response
- Local references and strong reviews
- Knowledge of insurance claim processes
- No upfront payments before work begins
If you’re dealing with significant damage, it’s also smart to contact your home insurance provider right away to start a claim and understand your coverage.
Filing a Storm Damage Insurance Claim
Insurance can help cover storm damage, but you need to follow the right steps.
- Review Your Policy
Look for coverage terms, deductibles, and what kinds of storm damage are included (wind, hail, etc.).
- Document Everything
Take clear photos and videos of the damage. Include dates and details in your records.
- File Quickly
Most insurance companies have a time limit for filing a claim—usually 30 to 60 days after the storm.
- Meet With the Adjuster
The insurance company will send a claims adjuster to inspect the roof. It helps to have your contractor present to ensure all damage is noted.
- Understand the Settlement
Your insurance may cover full replacement, partial repairs, or only the depreciated value. Read the fine print and ask questions.
Storm Damage Roof Repair Options
Depending on the extent of the damage, your roofer will suggest one of the following:
- Minor Repairs
If only a few shingles or sections are damaged, patching or replacing those specific parts may be enough. This is often quick and affordable.
- Partial Roof Replacement
If a larger section is affected, a partial replacement may be needed. This is common after hailstorms or when debris impacts part of the roof.
- Full Roof Replacement
Severe damage, especially from wind or falling trees, may require a full roof replacement. Your contractor can help determine if this is necessary.
- Temporary Fixes
If the weather remains bad, roofers may install a temporary fix (like tarping) until full repairs can be done safely.
How Much Does Storm Damage Roof Repair Cost?
Costs can vary widely depending on:
| Type of Repair | Average Cost |
| Minor repairs (1–5 shingles) | $150 – $400 |
| Moderate repairs (partial) | $500 – $1,500 |
| Full replacement (asphalt) | $5,000 – $12,000+ |
| Emergency tarping | $200 – $1,000 |
Factors that affect cost include:
- Roof size and pitch
- Material type (asphalt, tile, metal, etc.)
- Labor rates in your area
- Emergency or off-hours repairs
- Whether insurance covers part or all of the damage
Choosing the Right Roofing Contractor
Hiring the right pro makes a huge difference in your repair experience. Here’s what to look for:
- License and Insurance
Only work with contractors who are licensed and insured in your state. Ask for documentation.
- Local Experience
Local roofers understand the weather patterns and building codes in your area. Plus, they’re easier to follow up with after the job.
- Storm Chasers Warning
Avoid companies that show up right after a storm offering deals or pushing for immediate contracts. These “storm chasers” may not be reliable.
- References and Reviews
Check online reviews, BBB ratings, and ask for references. Look for a consistent record of quality service.
- Warranty
A good roofer will offer both material and labor warranties—usually at least 5 years.
Preventing Future Storm Damage
You can’t stop storms, but you can make your roof more resistant:
- Regular Inspections
Have your roof inspected every 1–2 years, especially before storm season.
- Trim Trees
Remove overhanging branches that could fall on your roof during strong winds.
- Install Impact-Resistant Shingles
These are designed to withstand hail and heavy debris better than standard shingles.
- Upgrade Roof Flashing
Stronger flashing reduces the chance of water leaks during heavy rain.
- Check Attic Ventilation
Poor ventilation can lead to moisture buildup and rot, making storm damage worse.
When to Replace vs. Repair
If your roof is over 15–20 years old, even moderate damage might be a sign that it’s time to replace rather than repair. A new roof may be more cost-effective in the long run—especially if your insurance covers part of the cost.
Conclusion: Take Action Fast After a Storm
Storm damage roof repair isn’t something to delay. The longer you wait, the worse the damage—and the higher the cost—can become. Whether you’re patching a few shingles or filing a claim for a full replacement, acting quickly is key.
Work with a trusted roofing contractor, stay on top of your insurance paperwork, and invest in preventative maintenance. Your roof protects everything underneath it—give it the care it deserves.