Highlights:
-
Inspecting light switches before selling can prevent safety hazards and avoid lowering buyer confidence.
-
Common causes of switch failure include wear, moisture, electrical surges, and poor installation.
-
Warning signs like flickering lights, loose switches, unusual sounds, burn marks, or smells indicate issues.
-
Using the right tools and following safe inspection steps helps prevent accidents and identifies problems early.
-
Replacing faulty switches or calling a professional ensures your home’s electrical system is safe and reliable.
-
Preventative maintenance and minor upgrades can improve safety, enhance buyer perception, and avoid costly repairs.
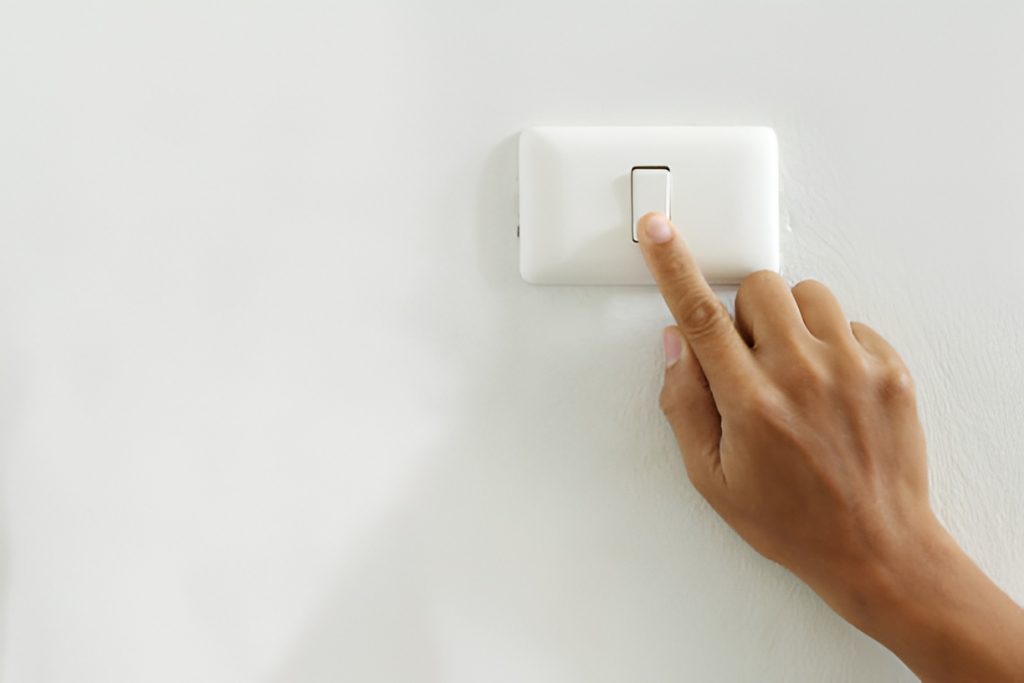
Preparing your home for sale can feel like a marathon of repairs and inspections. While many homeowners focus on fresh paint, landscaping, or kitchen upgrades, one overlooked area can create serious problems: your electrical system. A bad light switch might seem minor, but it can trigger safety hazards, fail inspections, or even scare off potential buyers. In this guide, we’ll show you how to tell if a light switch is bad, how to fix it safely, and how to avoid common mistakes.
Why Checking Light Switches Matters Before Selling
When buyers walk through a home, even small electrical issues can make a big impression. A flickering light or a switch that doesn’t respond properly can signal underlying problems. Inspectors often check for:
-
Functional switches in every room
-
Signs of wear, cracks, or discoloration
-
Loose or exposed wiring
-
Evidence of overheating or burning
By checking your switches before listing, you can fix small issues before they become costly repairs.
What Makes a Light Switch Go Bad?
Not all light switches fail the same way, and knowing the common causes can help you identify potential problems before they become serious hazards. Here’s a closer look at why switches wear out or stop functioning properly:
Wear and Tear:
Over time, frequent use can loosen the internal components of a switch. The metal contacts inside can wear down, making it harder for electricity to flow properly. This is especially common in high-traffic areas such as hallways, kitchens, or rooms used daily. Even if the switch appears fine on the outside, internal damage can lead to intermittent or complete failure.
Moisture and Corrosion:
Bathrooms, kitchens, basements, and laundry rooms often have higher humidity levels. Moisture can seep into the switch housing, causing the metal parts to corrode or rust. This can result in sticking switches, flickering lights, or even short circuits. Homes in humid climates or areas prone to leaks are particularly vulnerable.
Electrical Surges:
Power spikes, lightning strikes, or faulty wiring in your home can damage switches. Surges can burn out the contacts or internal wiring, leaving the switch unresponsive. Even newer switches aren’t immune if they’re exposed to repeated electrical surges.
Poor Installation:
Switches installed incorrectly can fail prematurely. Common mistakes include loose screws, poor grounding, or mismatched wiring. DIY installations are especially prone to these errors. A switch may look fine externally but could be unsafe or unreliable internally.
Even brand-new switches can go bad if installed incorrectly or subjected to unusual conditions. Paying attention to these causes can help you catch problems early and avoid hazards.
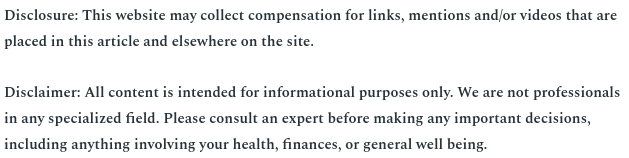
Common Signs of a Bad Light Switch
How can you tell if a light switch is bad? While some issues are obvious, others may be subtle. Here are the most common warning signs:
-
Lights Flicker or Don’t Turn On Consistently: If your lights occasionally flicker, turn off unexpectedly, or fail to illuminate at all, the switch may be failing. Intermittent issues often indicate loose internal contacts.
-
Switch Feels Loose, Sticks, or Moves Oddly: A switch should have a firm, smooth motion. If it feels wobbly, sticks in one position, or moves without resistance, the internal mechanism could be damaged.
-
Buzzing, Crackling, or Unusual Sounds: Strange noises when you operate a switch are usually caused by arcing electricity inside the switch. This can be dangerous and should not be ignored.
-
Burn Marks or Discoloration Around the Plate or Wall: Signs of overheating, such as brown or black marks, indicate that the switch has been exposed to excess heat or electrical load.
-
Burning Smell Near the Switch: Any burning odor is a serious red flag. It can indicate overheating wires, electrical arcing, or an internal short circuit, all of which are fire hazards.
If you notice any of these symptoms, it’s important to investigate promptly. Ignoring the problem can lead to bigger issues, including electrical fires or damage to your home’s wiring.
Tools You’ll Need for a Safe Inspection
Inspecting a light switch safely requires the right tools and precautions. Here’s what you’ll need:
-
Voltage Tester or Multimeter: To check if the switch is live and confirm that power has been turned off.
-
Screwdriver Set: Flathead and Phillips screwdrivers for removing cover plates and switch mounting screws.
-
Needle-Nose Pliers: Useful for handling wires and adjusting connections.
-
Electrical Tape: To insulate wires and secure connections if needed.
-
Safety Gloves: Protect your hands from shocks and sharp edges.
-
Flashlight: To illuminate dark switch boxes or behind fixtures.
Important Safety Tip: Always turn off the power at the circuit breaker before inspecting a switch. Even if the light is off, electricity can still flow to the wires, and touching live wires can be dangerous.
Step-by-Step Guide: How to Tell If a Light Switch Is Bad
Follow these steps carefully to check your light switches safely and accurately:
-
Turn Off the Circuit at the Breaker: Identify which breaker controls the switch you want to inspect and flip it off. Double-check that the light doesn’t turn on before proceeding.
-
Remove the Switch Cover Plate: Use a screwdriver to carefully remove the cover plate. Inspect the surrounding wall for signs of discoloration, burn marks, or moisture damage.
-
Visually Inspect the Wiring: Look at the wires connected to the switch. Check for loose connections, frayed insulation, corrosion, or burn marks. Wires should be secure, intact, and free of exposed metal.
-
Test the Switch with a Voltage Tester: Before touching any wires, use a voltage tester or multimeter to ensure there is no current. This confirms that the circuit is completely de-energized.
-
Operate the Switch While Observing the Wiring: Gently toggle the switch on and off while looking for sparks, heat, or unusual movement. Any signs of arcing or irregular motion indicate a bad switch.
-
Check the Lights Connected to the Switch: If the lights flicker, dim unexpectedly, or don’t turn on, the switch is likely failing. Make note of any irregularities.
-
Replace the Switch if Necessary: If you observe any of the above problems, it’s safer to replace the switch entirely rather than attempt a temporary fix.
Following these steps carefully helps prevent accidents, ensures your home is safe, and identifies potential hazards before they become serious problems.
Should You Call an Electrician?
Sometimes it’s safer to call a professional. Consider contacting an electrician if:
-
You notice exposed or frayed wiring
-
The switch is part of a larger electrical issue
-
You’re unsure about testing voltage safely
-
Multiple switches in the same circuit are malfunctioning
Even small mistakes can lead to serious hazards, so don’t hesitate to seek professional help if you feel unsure.
Common Mistakes Homeowners Make
Many homeowners try DIY electrical fixes but end up making problems worse. Some frequent errors include:
-
Forgetting to turn off the breaker
-
Using the wrong type of switch for a circuit
-
Failing to tighten screws on wires
-
Overlooking grounding or neutral connections
These are examples of DIY mistakes in home improvement that can lead to bigger headaches or safety risks. Avoiding these pitfalls will save you time and money while preparing your home for sale.
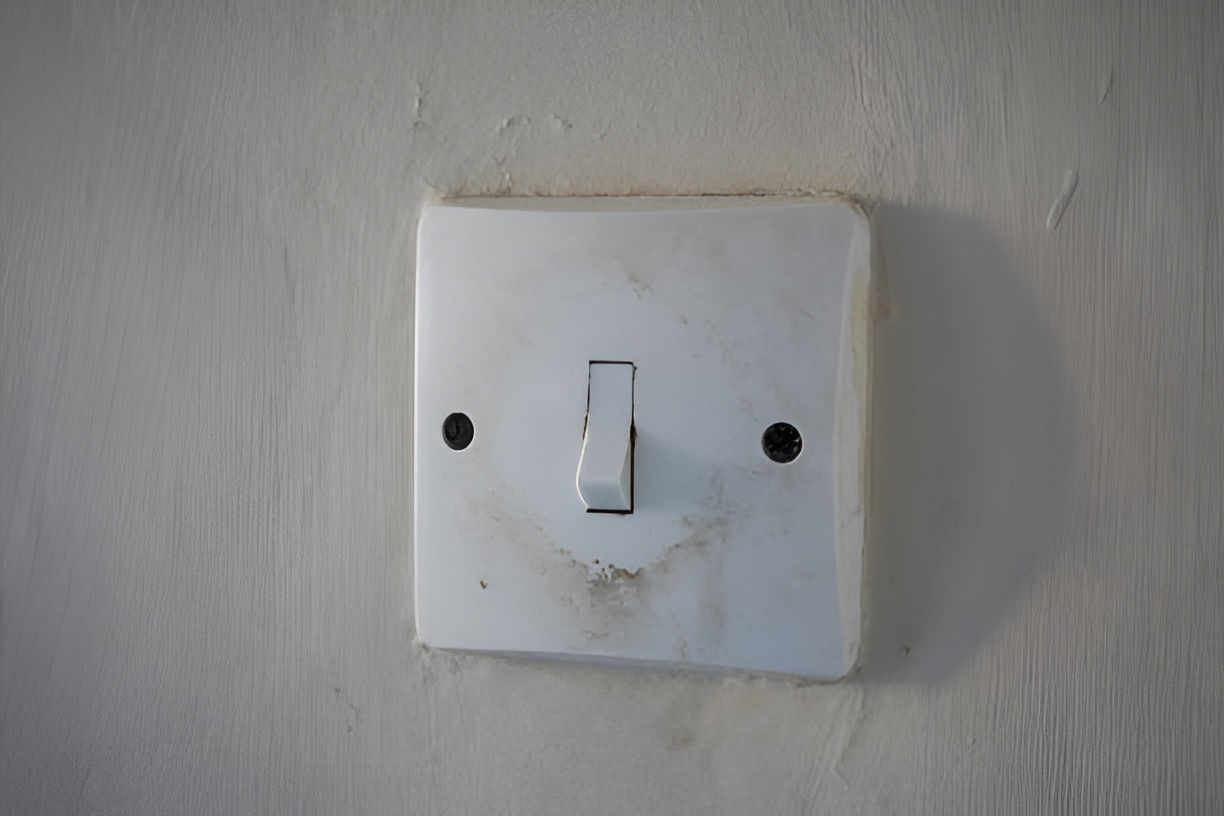
How to Replace a Light Switch Safely
Replacing a switch is usually straightforward if you follow safety rules:
-
Turn off the breaker
-
Remove the old switch and label the wires
-
Attach wires to the new switch according to instructions
-
Secure the switch to the electrical box
-
Replace the cover plate
-
Turn the breaker back on and test the switch
Double-check that the new switch works correctly and does not flicker or spark. Proper installation helps make home repairs last longer and prevents repeat issues.
Types of Switches and How Failure Differs
Different types of switches can fail differently:
-
Toggle switches: Most common, may loosen internally
-
Rocker switches: Can stick or become unresponsive
-
Dimmer switches: Sensitive to voltage fluctuations; overheating can occur
-
Smart switches: Fail electronically; often indicated by LED error codes
Understanding the type helps you diagnose the problem more quickly.
Hidden Problems Behind a Bad Switch
Sometimes, the issue isn’t the switch itself. Other electrical problems can mimic a bad switch:
-
Loose or damaged wiring in the circuit
-
Faulty light fixtures
-
Overloaded circuits
-
Tripped breakers or blown fuses
Always check the circuit as a whole, not just the switch, to avoid unnecessary replacements.
Preventing Future Switch Failures
Once you fix or replace a switch, take steps to prevent future issues:
-
Avoid overloading circuits with too many devices
-
Keep switches and outlets dry and free from dust
-
Upgrade old switches as part of a pre-sale maintenance plan
-
Schedule periodic inspections, especially in high-use areas
Proper maintenance improves safety and increases buyer confidence.
When a Bad Switch Signals a Bigger Problem
Sometimes a single bad switch can indicate deeper issues, such as:
-
Outdated electrical panels
-
Worn wiring in older homes
-
Improper grounding
-
Previous DIY electrical work done incorrectly
Catching these issues during pre-sale maintenance gives you time to repair before an inspection flags them.
Quick Troubleshooting Tips
If you’re not ready to replace a switch immediately, try these quick checks:
-
Tighten screws on terminals
-
Flip the breaker off and on again
-
Test with a different bulb
-
Clean any dust or corrosion from contacts
These steps can help determine whether the switch is failing or if another issue exists.
How Buyers View Electrical Issues
Homebuyers notice electrical issues more than you might think:
-
Flickering lights or faulty switches lower confidence in home safety
-
Small electrical problems can affect inspection reports
-
Buyers may use electrical issues as leverage for price reductions
Fixing switches and addressing hazards before listing protects your home’s perceived value.
Pre-Sale Checklist for Electrical Safety
To make sure your home is ready for buyers:
-
Test every light switch and outlet
-
Replace or repair switches that are faulty
-
Inspect wiring for wear, moisture, or damage
-
Confirm all circuits are properly grounded
-
Document any updates or repairs for buyers
This checklist ensures nothing is overlooked and demonstrates a well-maintained home.
Should You Upgrade While Selling?
In some cases, replacing old switches with modern ones can be a selling point:
-
Smart or energy-efficient switches appeal to tech-savvy buyers
-
New switches indicate proactive maintenance
-
Modern switches may improve lighting control and aesthetics
Even minor upgrades can create a positive impression without a major investment.
Red Flags That Require Immediate Action
If you notice any of the following, act quickly:
-
Sparks or smoke from a switch
-
Repeated breaker trips associated with a particular switch
-
Signs of burning or melting around the switch plate
-
Switches that are extremely loose or broken
These situations require professional intervention immediately to avoid hazards.
How to Avoid Common DIY Pitfalls
DIY electrical work is tempting to save money, but avoiding mistakes is key:
-
Always double-check that the circuit is off
-
Label wires when removing a switch
-
Don’t over-tighten screws and damage wires
-
Avoid working in damp or wet conditions
-
Consider calling a licensed electrician if you’re unsure
Paying attention to these precautions keeps you safe and protects your investment.
Final Thoughts
A small light switch can seem insignificant, but it plays a crucial role in home safety and pre-sale preparation. By knowing how to tell if a light switch is bad, you can avoid hazards, make timely repairs, and improve your home’s appeal to buyers. Proper inspection, replacement, and maintenance prevent costly surprises during an inspection and demonstrate that your home has been cared for. Taking the time now ensures that your sale process goes smoothly and that buyers feel confident in your home’s electrical system.