As the crisp autumn air settles in, preparing your home for the coming winter chill becomes a priority. A key component of this preparation is ensuring your furnace is functioning optimally. This guide will equip you with the knowledge and tools to perform a DIY furnace tune-up, getting your heating system winter-ready and ensuring a warm and comfortable season.
Safety First:
Always prioritize safety. Before starting your furnace tune-up, turn off the furnace at the main electrical panel and gas supply valve (if applicable).
Allow the furnace to cool completely before proceeding.
Gather Your Supplies:
Here are the tools and materials you’ll need:
Screwdriver set Vacuum cleaner with hose attachment Shop vac (optional, recommended for heavy dust) Soft brush Replacement furnace filter (refer to your owner’s manual for the correct size) Flashlight Step 1: Clear the Area Around the Furnace
Remove any clutter or flammable objects from the surrounding area. This ensures proper airflow and prevents fire hazards.
Step 2: Replace the Air Filter
A clogged air filter is a major culprit for inefficient furnace operation. Locate the air filter compartment (usually a hinged door or a removable panel) and replace the old filter with a new one. Ensure the arrows on the filter indicate the correct airflow direction.
Step 3: Clean the Furnace Cabinet
Use a soft brush or a vacuum cleaner with a hose attachment to remove dust and cobwebs from the exterior of the furnace cabinet. Pay close attention to areas around vents and burners.
Step 4: Inspect the Flue Pipe (Optional, for Advanced DIYers)
The flue pipe vents combustion gases out of your home. Excessive buildup of soot or debris can hinder proper venting. Caution: Cleaning the flue pipe can be messy and requires proper safety precautions. If you’re not comfortable performing this step, consider hiring a professional HVAC technician.
Step 5: Visually Inspect the Burner Assembly
The burner assembly is where the fuel is ignited to generate heat. Do not attempt to disassemble or clean the burner assembly yourself. Visually inspect the burners for any signs of damage, corrosion, or cracks. If you notice any abnormalities, contact a qualified HVAC technician.
Step 6: Inspect the Pilot Light (Gas Furnaces Only)
Gas furnaces have a pilot light that continuously burns to ignite the main burners when needed. Look for a small flame through a viewing window on the burner assembly. If the pilot light is out or seems weak, consult your owner’s manual for relighting instructions. Important: If you’re unable to reignite the pilot light safely, turn off the gas supply valve and contact a technician.
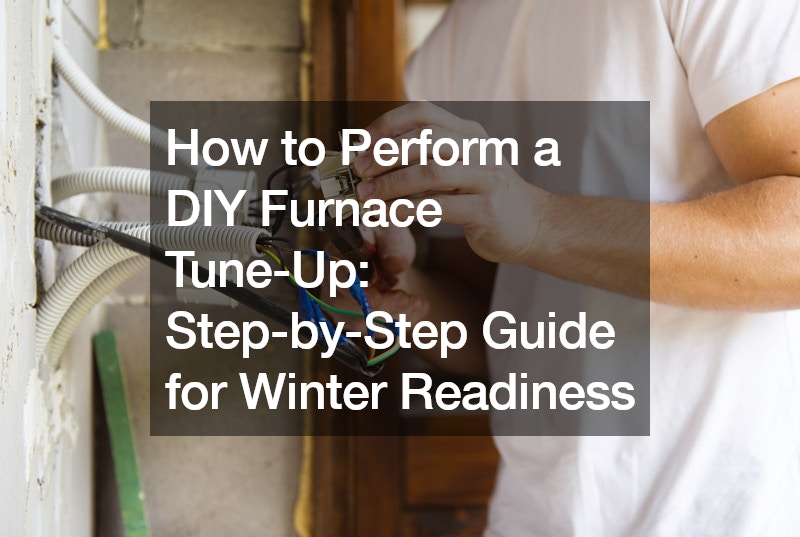
Step 7: Inspect the Blower Compartment (Advanced DIY)
The blower compartment houses the fan that circulates warm air throughout your home. Caution: This step requires extra caution to avoid damaging electrical components. If you’re comfortable, open the blower compartment (refer to your owner’s manual for instructions) and use a vacuum cleaner to remove dust and debris from the fan blades and motor housing.
Step 8: Test the Furnace Operation
Once you’ve completed the cleaning and inspection steps, turn the furnace back on at the main electrical panel and gas supply valve (if applicable). Reset the thermostat to heating mode and a comfortable temperature. Listen for any unusual noises during operation. If you notice any abnormal sounds, lingering odors, or malfunctions, turn off the furnace and contact a qualified HVAC technician for further evaluation.
When to Call a Professional:
While this guide provides steps for basic furnace tune-up tasks, some situations are best left to professionals. Here are some scenarios where calling an HVAC technician is recommended:
You’re unsure about any step or feel uncomfortable performing any task yourself. You suspect major repairs (e.g., faulty burners, malfunctioning thermostat) might be needed. Your furnace is old (over 10-15 years) and requires a professional inspection. You notice any signs of gas leaks (rotten egg smell). Benefits of a DIY Tune-Up:
Performing a DIY furnace tune-up offers several benefits:
Improved Efficiency: A clean furnace operates more efficiently, potentially leading to lower energy bills. Enhanced Comfort: Proper maintenance ensures consistent and reliable heating performance throughout the winter. Peace of Mind: Knowing your furnace is functioning properly provides peace of mind during the cold winter months. Savings: Performing basic maintenance yourself can save money compared to calling a technician for routine tune-ups. Beyond the Basics:
For optimal winter readiness, consider scheduling a professional furnaceinspection alongside your DIY tune-up. A qualified HVAC technician can perform a more comprehensive evaluation, including:
Safety Checks: They will thoroughly inspect the flue pipe, gas connections, and electrical components for potential safety hazards. Detailed Cleaning: Technicians have specialized tools and techniques for deep cleaning the furnace interior, maximizing efficiency. Performance Optimization: They can calibrate the thermostat and burner settings to ensure optimal heating performance. Early Problem Detection: A professional inspection can identify minor issues before they escalate into major breakdowns. Investing in a professional inspection alongside your DIY tune-up provides an extra layer of security and ensures your furnace is in top shape for the winter season.
Conclusion:
By taking the time to perform a DIY furnace tune up and potentially scheduling a professional inspection, you can ensure your home heating system is winter-ready. A well-maintained furnace translates to a warm and comfortable winter, potentially lower energy bills, and peace of mind knowing your system is operating safely and efficiently. Remember, a little effort now can prevent costly breakdowns and extend the lifespan of your furnace, keeping your home toasty for years to come. So, grab your tools, follow these steps, and prepare your furnace for the winter chill with confidence!
.
